Summer Style Zucchini Lasagna

When I think of lasagna, a few memories rush to mind…

I remember visiting my grandparents on winter breaks and opening their freezer to boxes of Stouffer’s Lasagna. In between breaks from playing Barbies and Briarberry bears (did anyone else play with these?!) I would tear open a red cardboard box and pop that plastic try of noodles, cheese, and marinara sauce in the microwave. A few minutes later, BAM, piping hot lasagna waiting for me to eat before blissfully going back to playing make believe.

I also remember Mike picking me up in the first few months of us dating for dinner in North Beach, the Italian district in San Francisco. We went to a cozy little restaurant and sat at a table for two by the window. I ordered the lasagna and probably broke some dating “rule” by finishing every last bite. Who can resist melty cheese and carbohydrates? Not this girl.

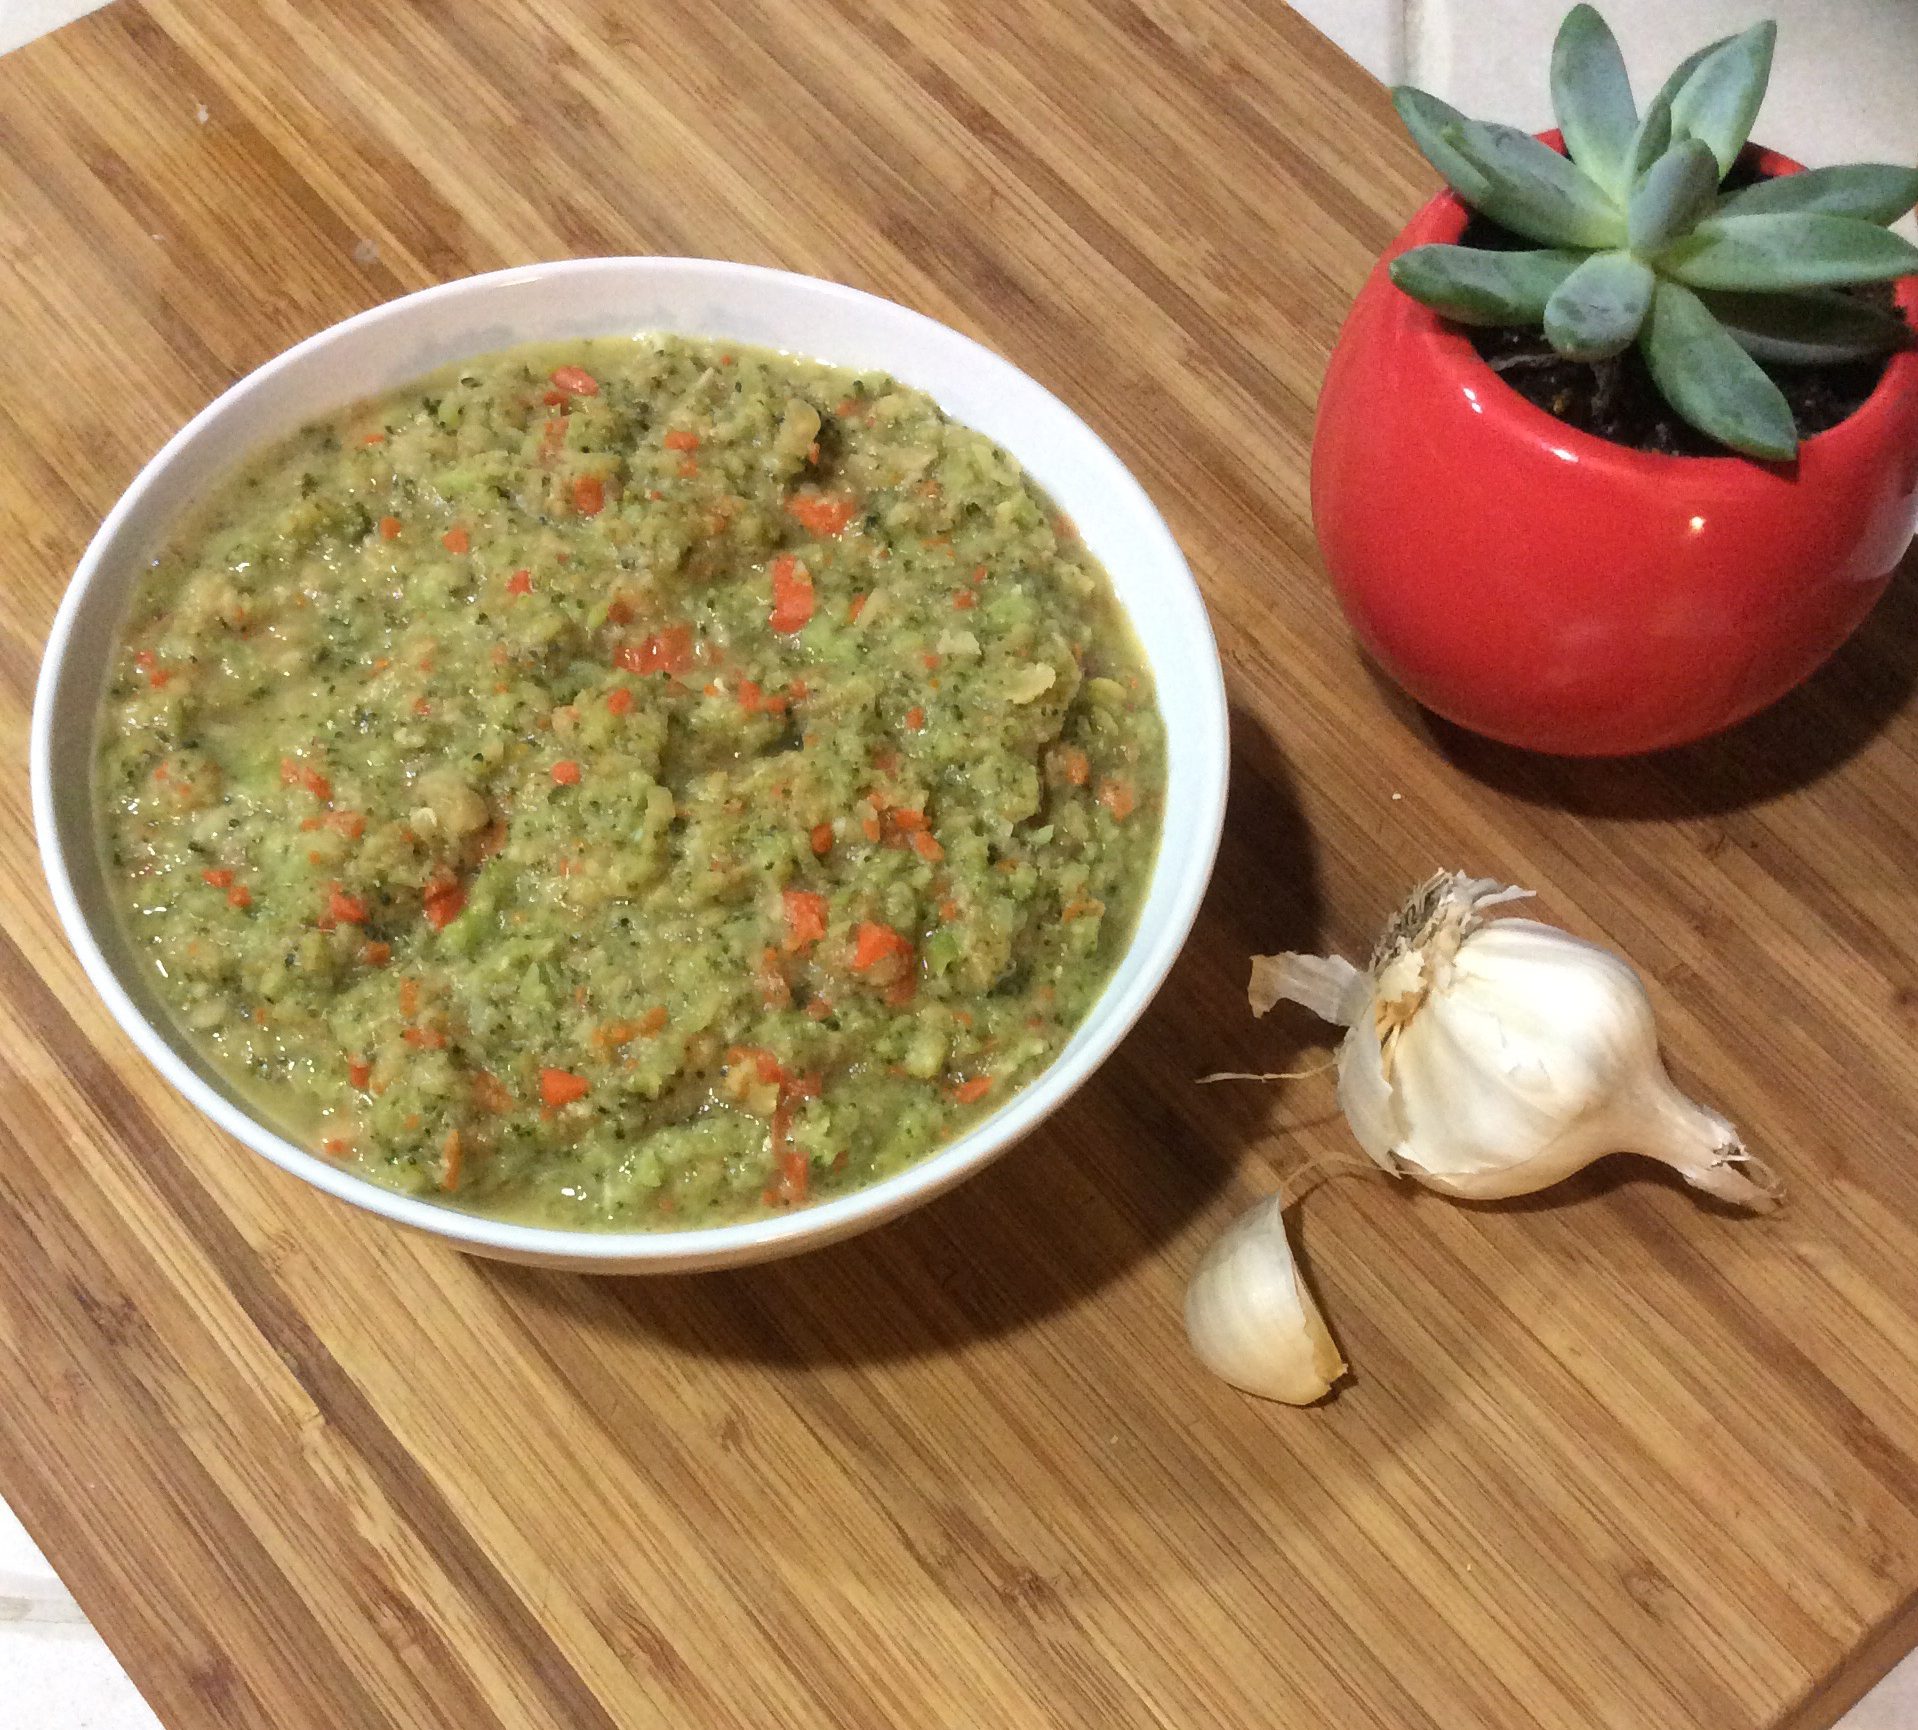
Lastly, I distinctly remember the first time I made my own lasagna and packed it with as many veggies as I could. Carrots in the sauce! Spinach in the ricotta! (Arguably healthier than the Stouffer’s and North Beach variety.) Bless Mike for eating my cooking without complaint!

My point is, I love me some good layered lasagna! But it’s a dish that screams WINTER. I wanted to lighten it up for the warmer months and knew replacing the noddles with lighter zucchini would do the trick!

img_0515
pro tip: let a paper towel absorb the water in your zucchini before baking


Summer Style Zucchini Lasagna

Prep time: 20 minutes – Cook time: 40 minutes – Servings: 2

Ingredients:

  • 2 TBS olive oil
  • 3 – 4 garlic cloves, minced
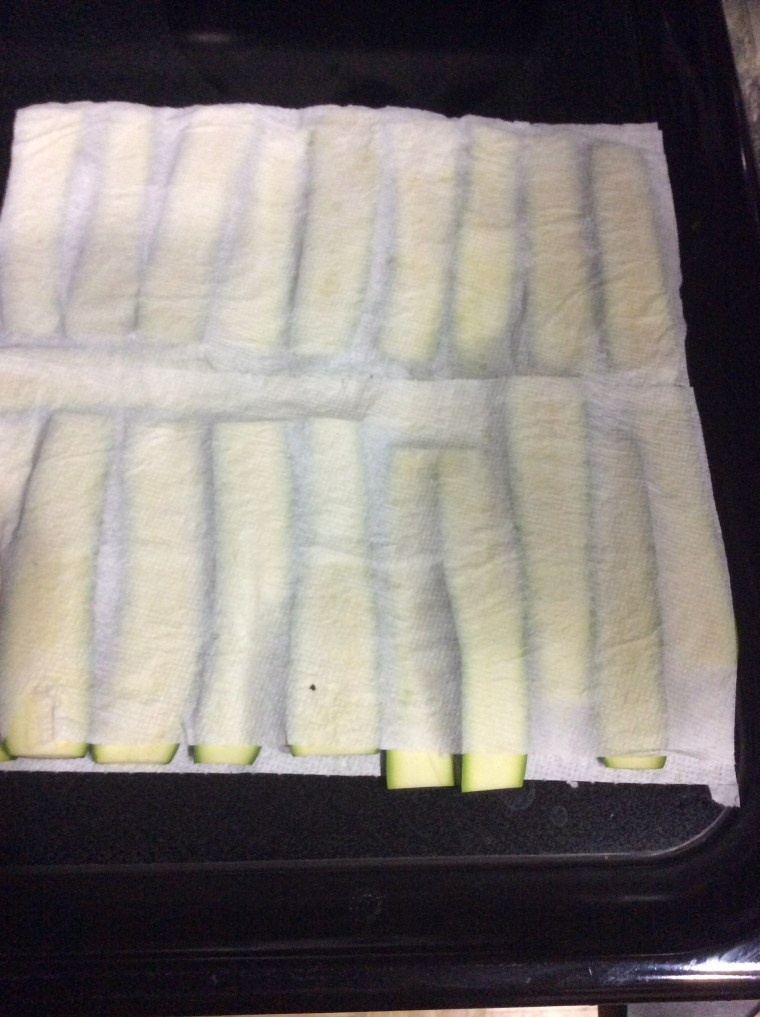
  • 6 – 7 small zucchini sliced in long thin pieces*
  • 4 – 5 small ripe JUICY tomatoes (if you can’t find any, a strained can of fire-roasted tomatoes will do
  • 1/2 cup of sliced mushrooms
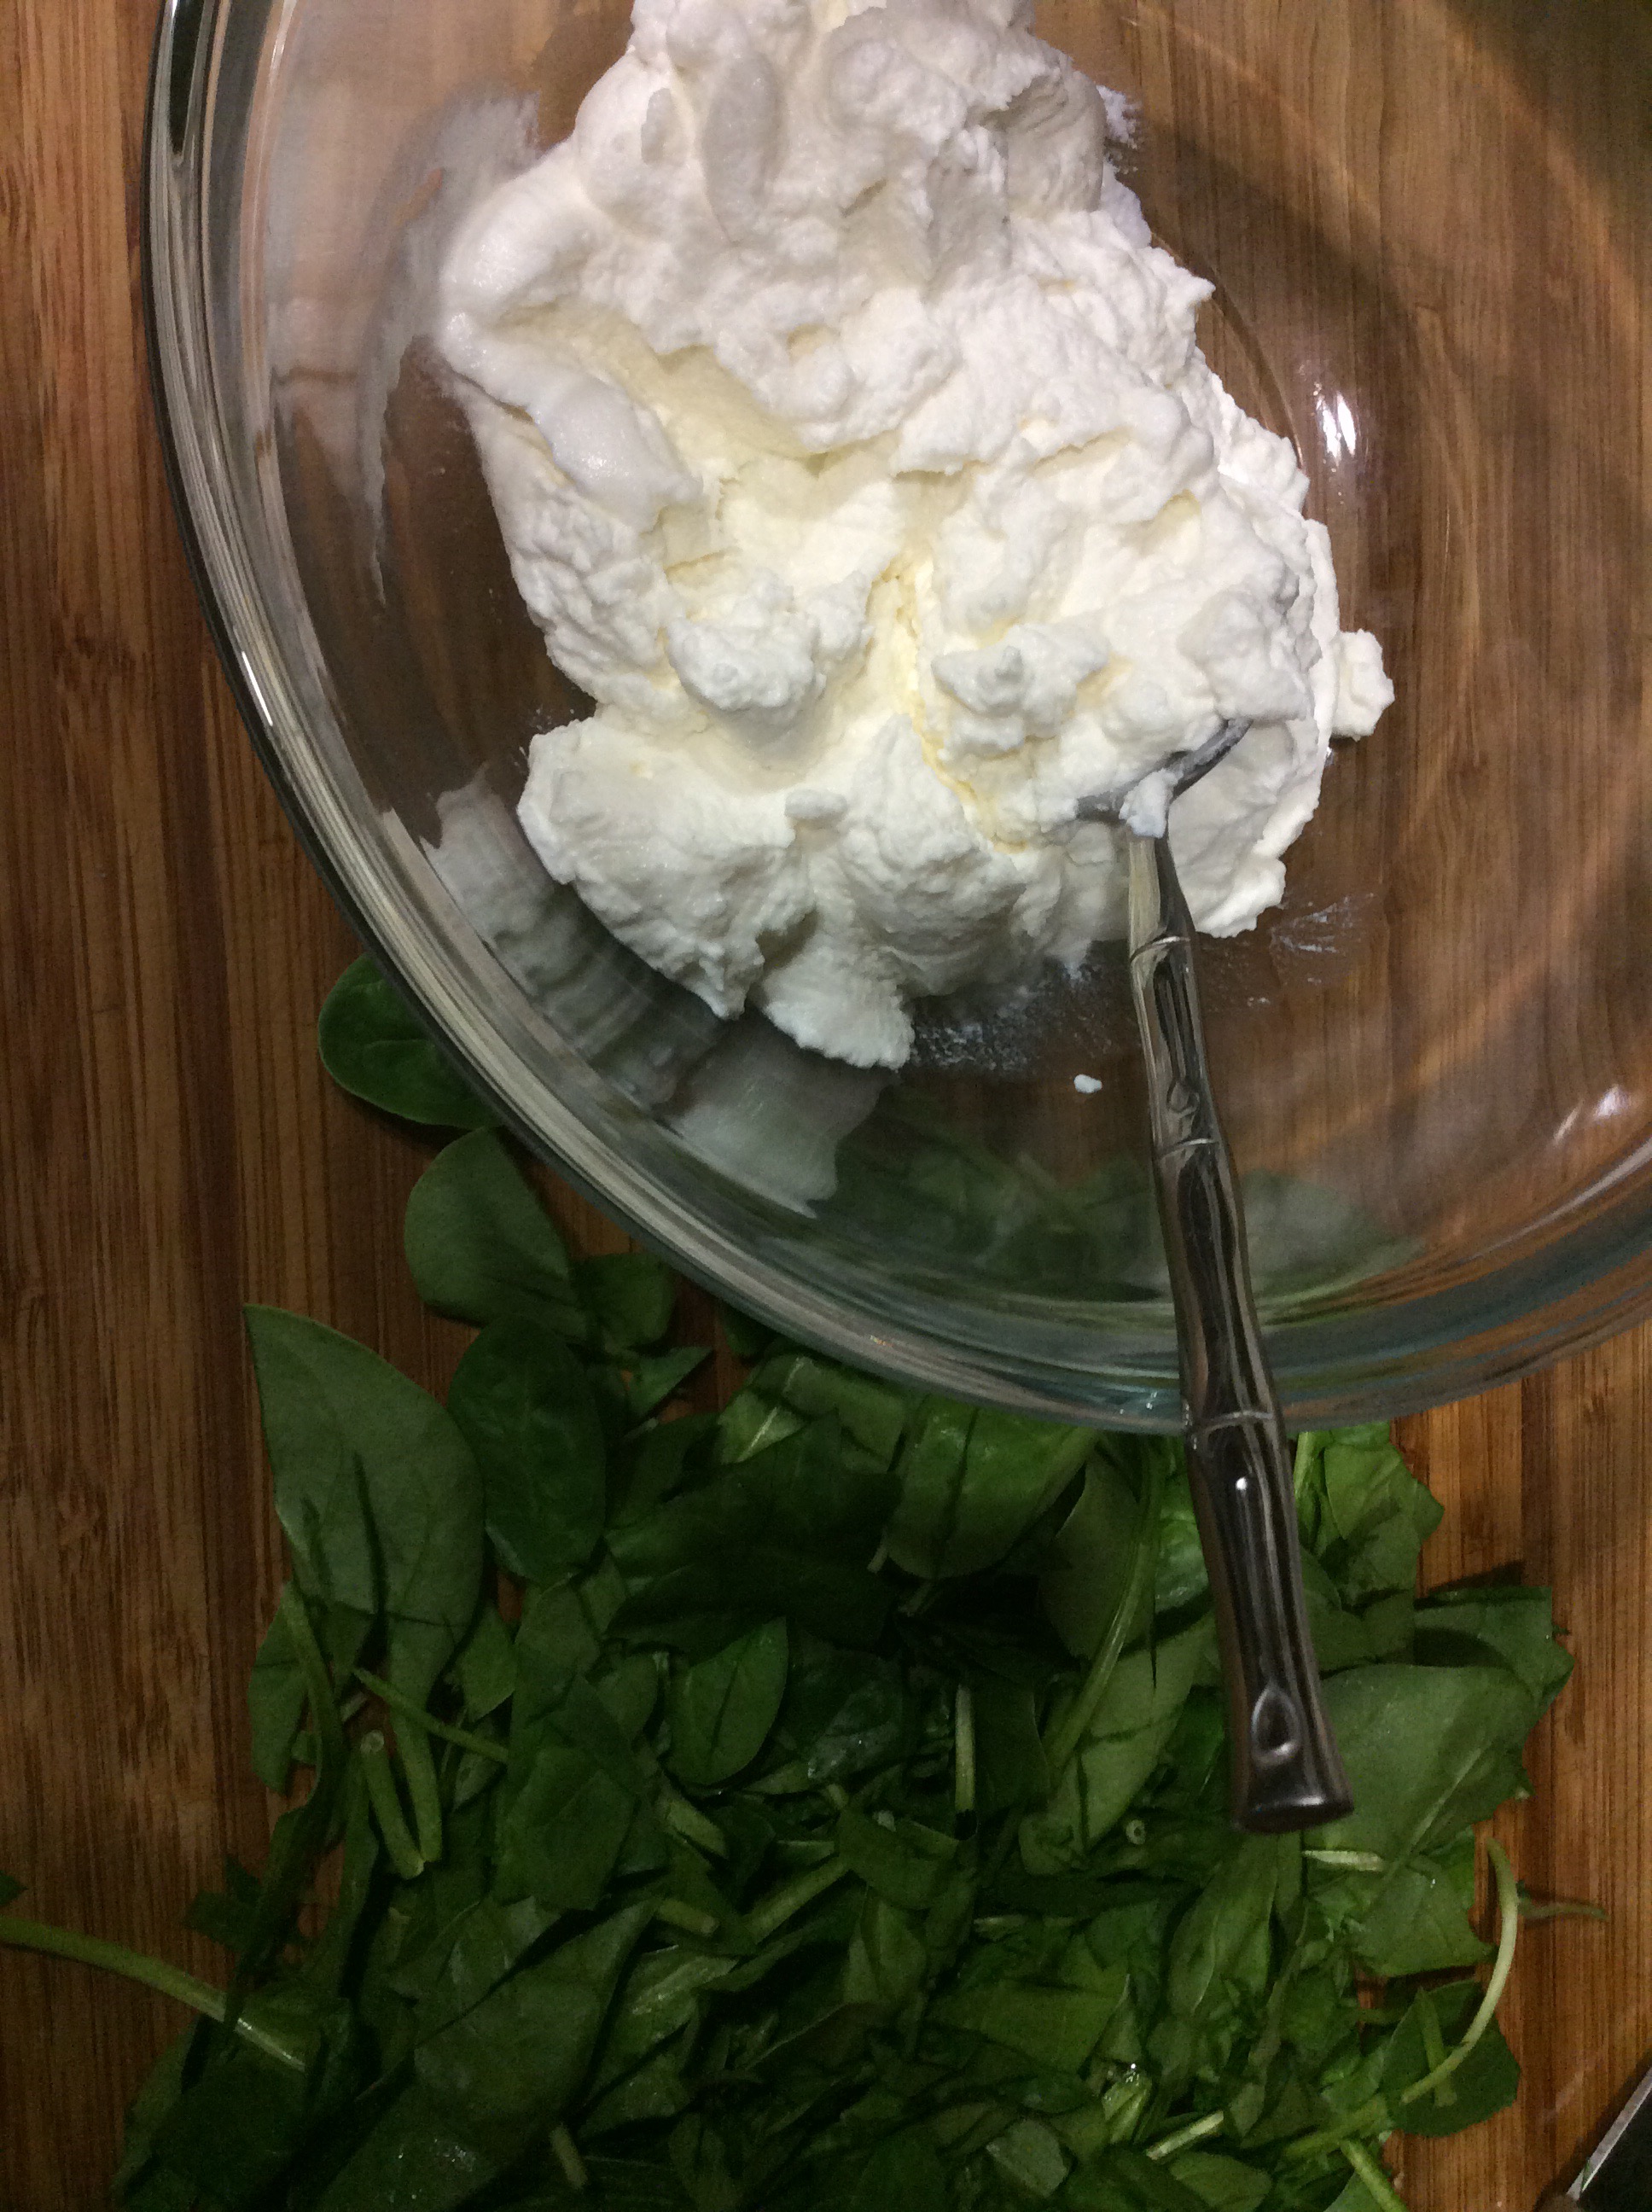
  • 1 cup roughly chopped spinach
  • 3/4 cup ricotta cheese
  • 1/4 cup parmesan cheese

* Important step: after you slice the zucchini, place the stripes on paper towels for ~20 minutes to absorb some of the water *

Directions:

  • Sauté the minced garlic in olive oil until fragrant
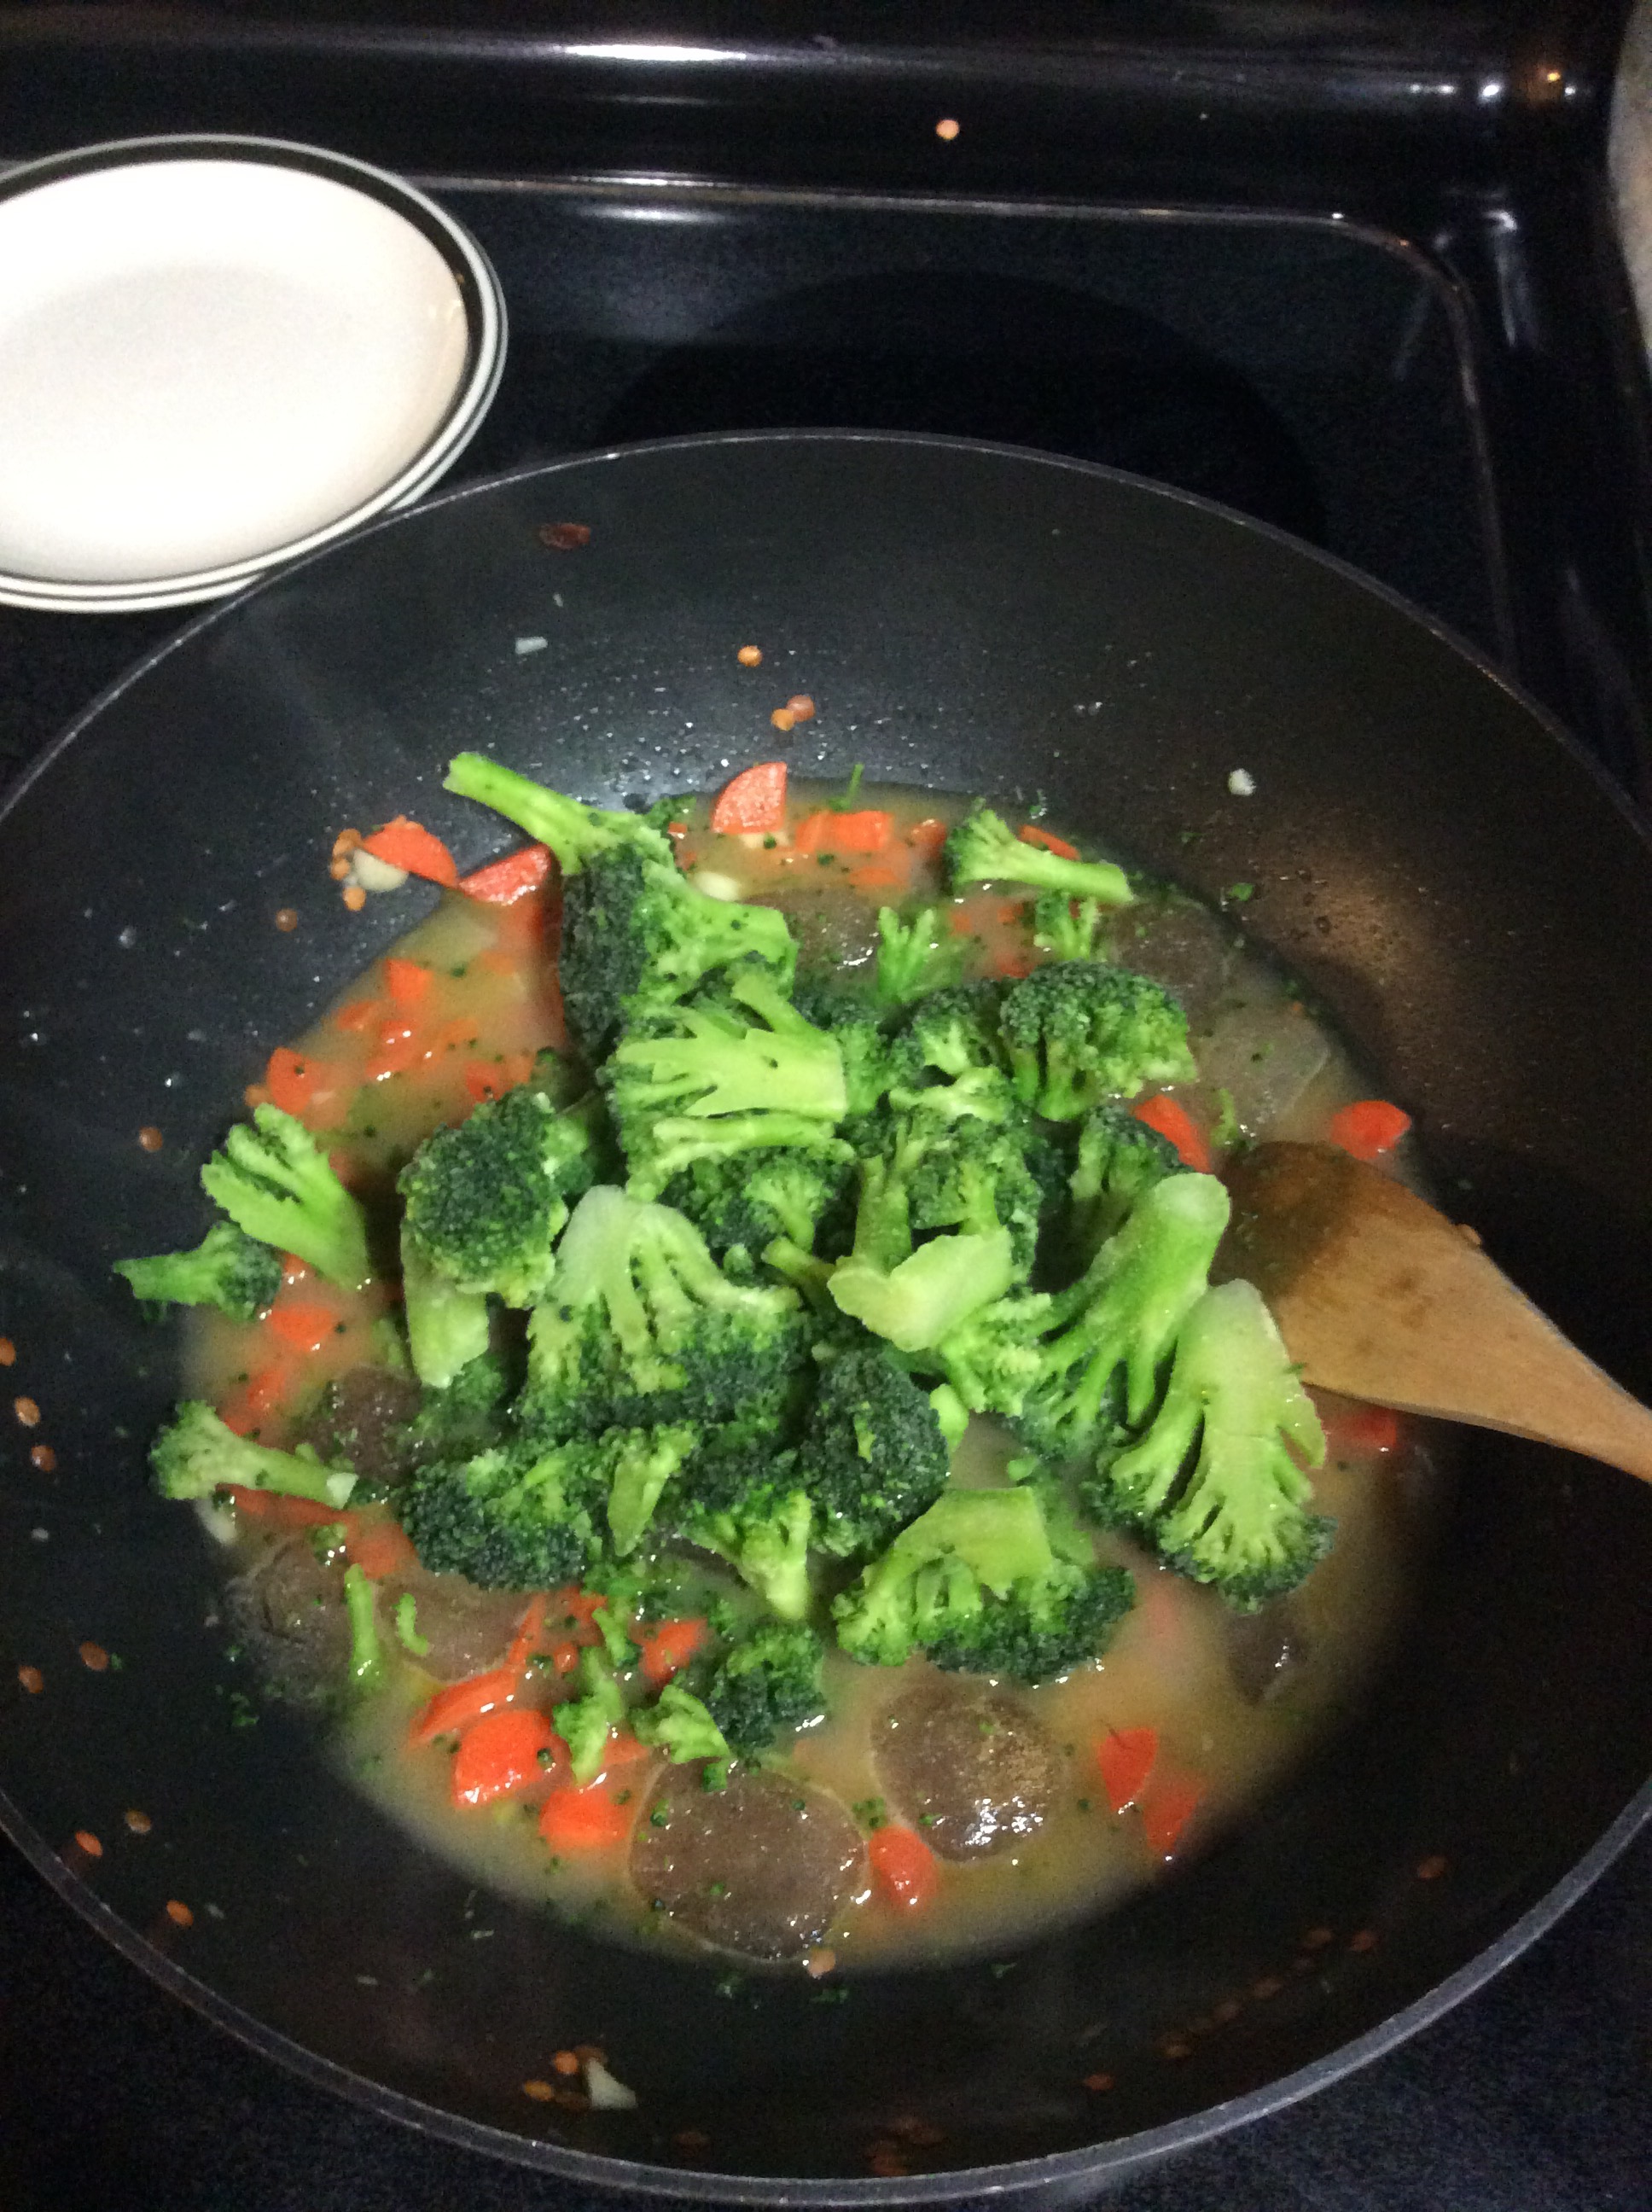
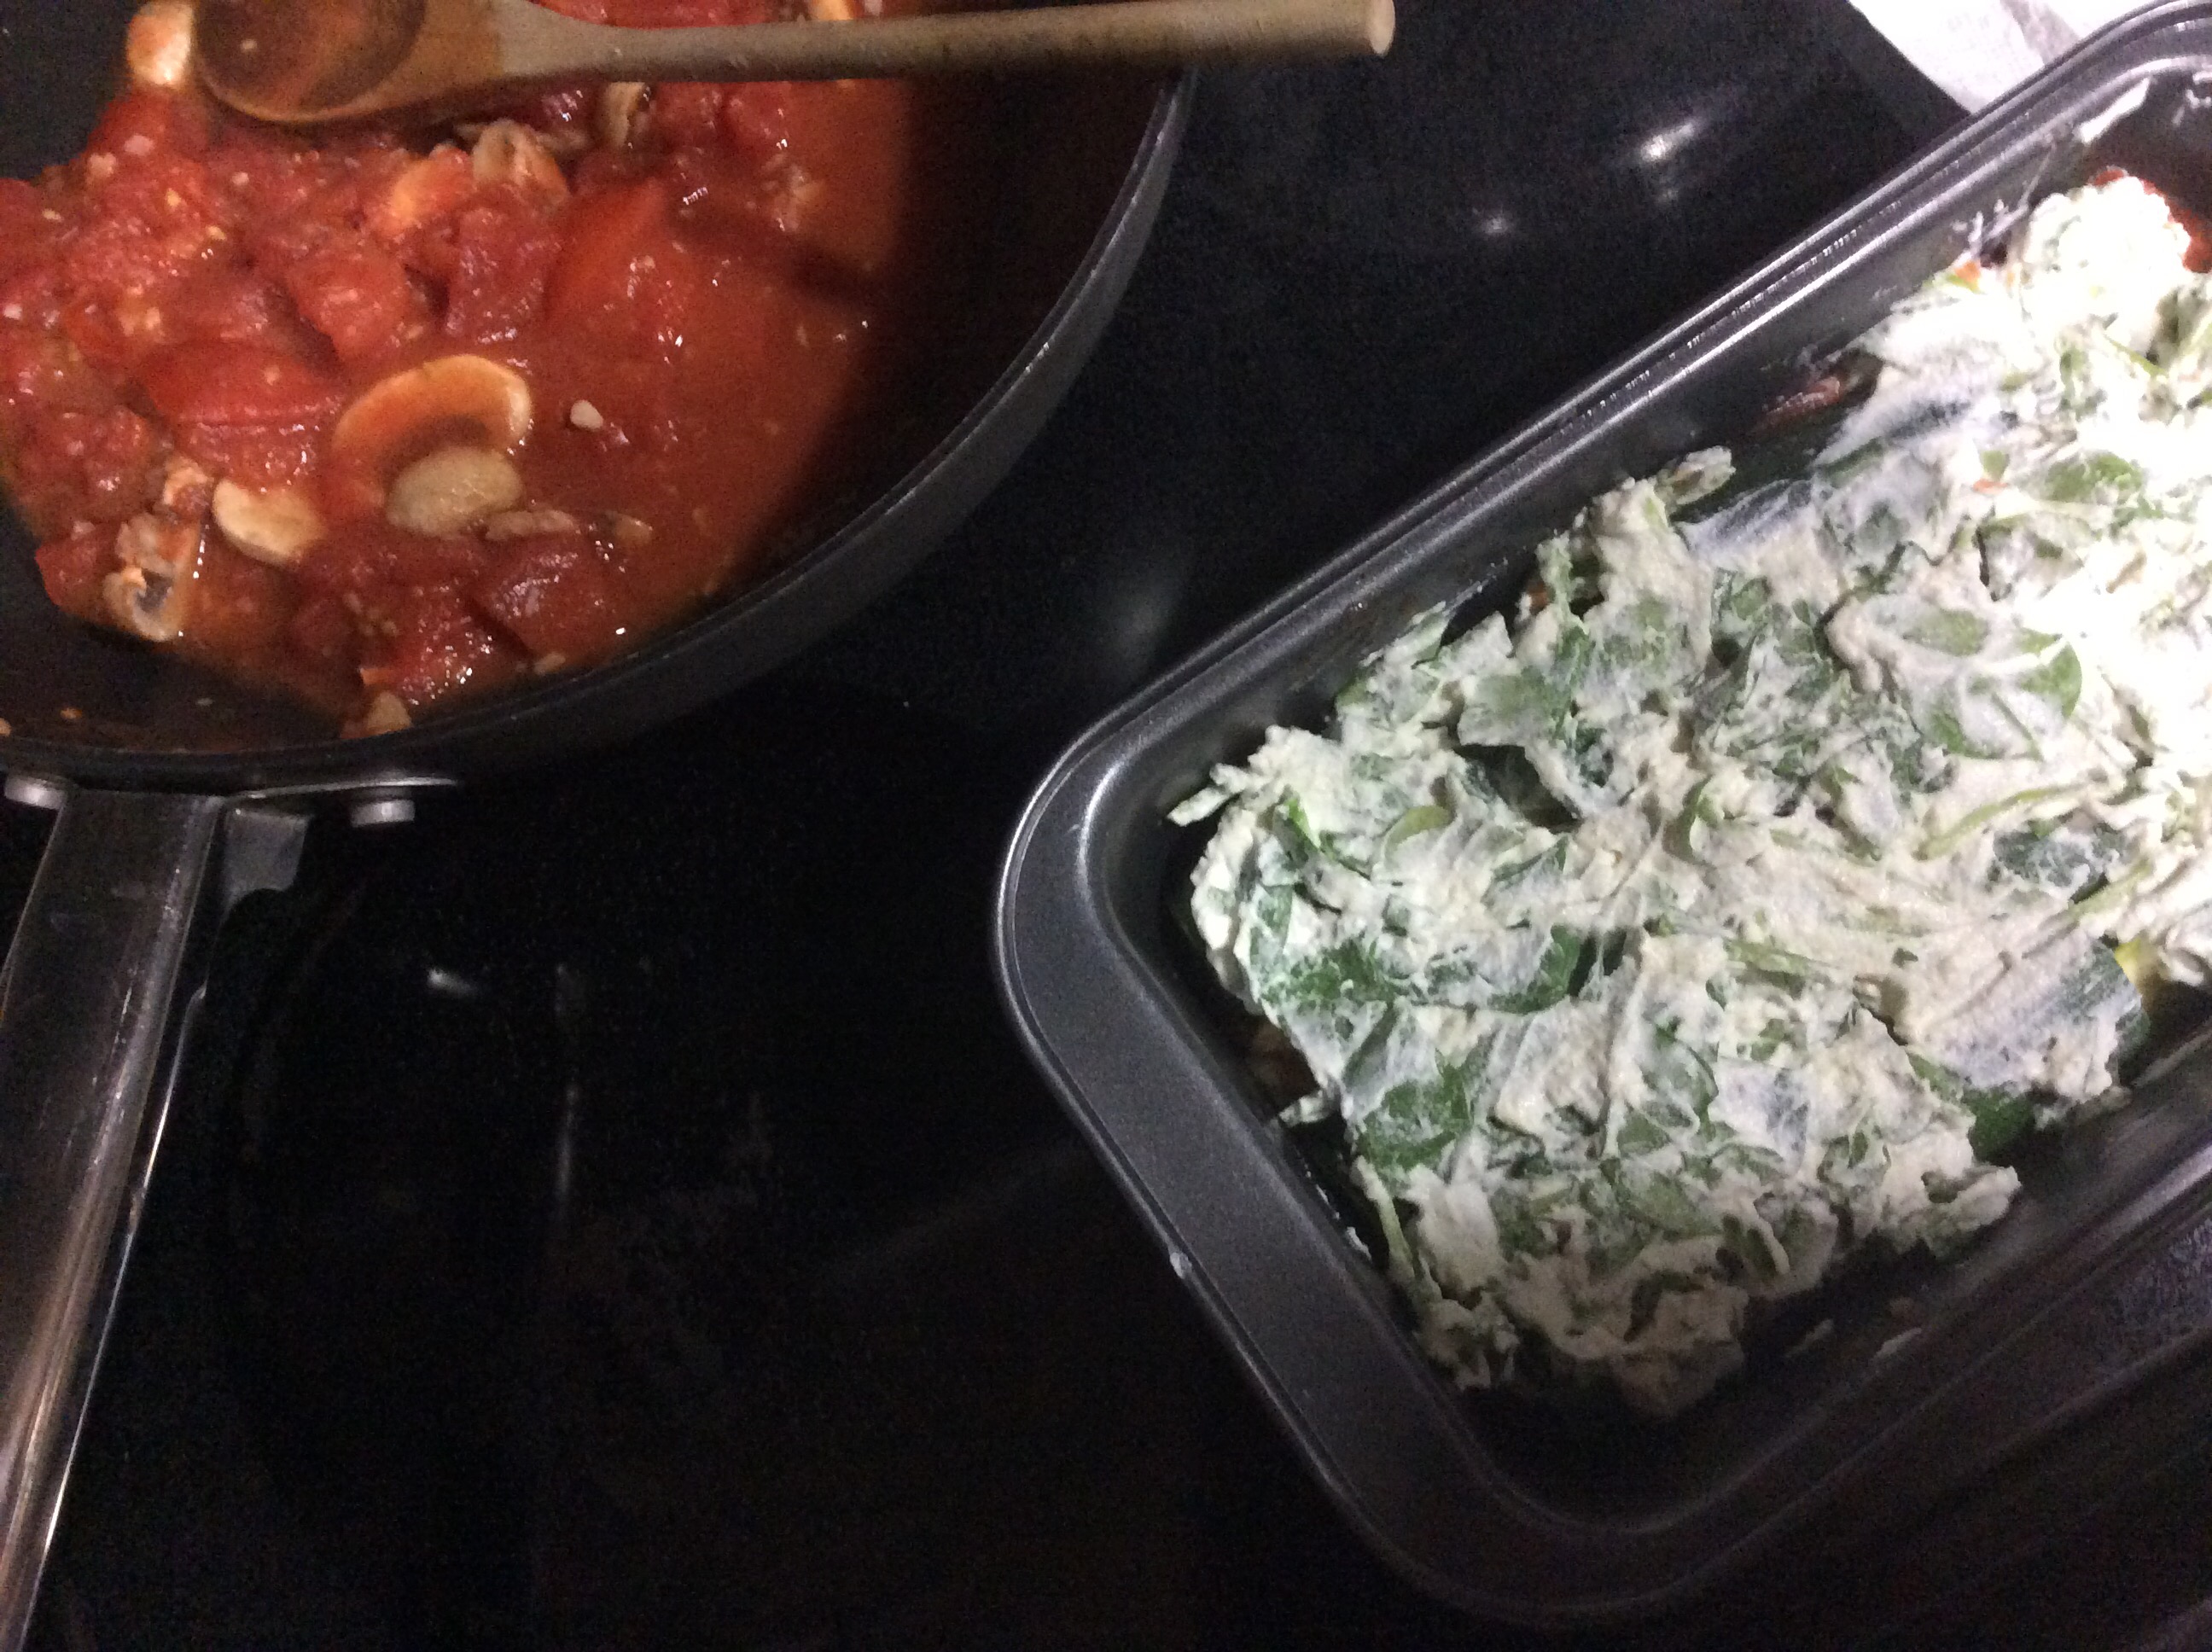
  •  Add mushrooms and tomatoes (getting all of the seeds and juice in there to give it more of a sauce consistency)
  • While your sauce is cooking, add chopped spinach to ricotta and mix well
  • After mushrooms and tomatoes are cooked, spread a thin layer on the bottom of a pan (I used a small enough one for two but the size will depend on how much you’re making)
  • Layer zucchini slices on top of sauce and then the spinach and ricotta cheese mixture
  • Top with mushrooms and tomatoes
  • Repeat 3/4 times, depending on how many zucchini you have
  • Top with parmesan cheese
  • Bake at 350 for 40 minutes
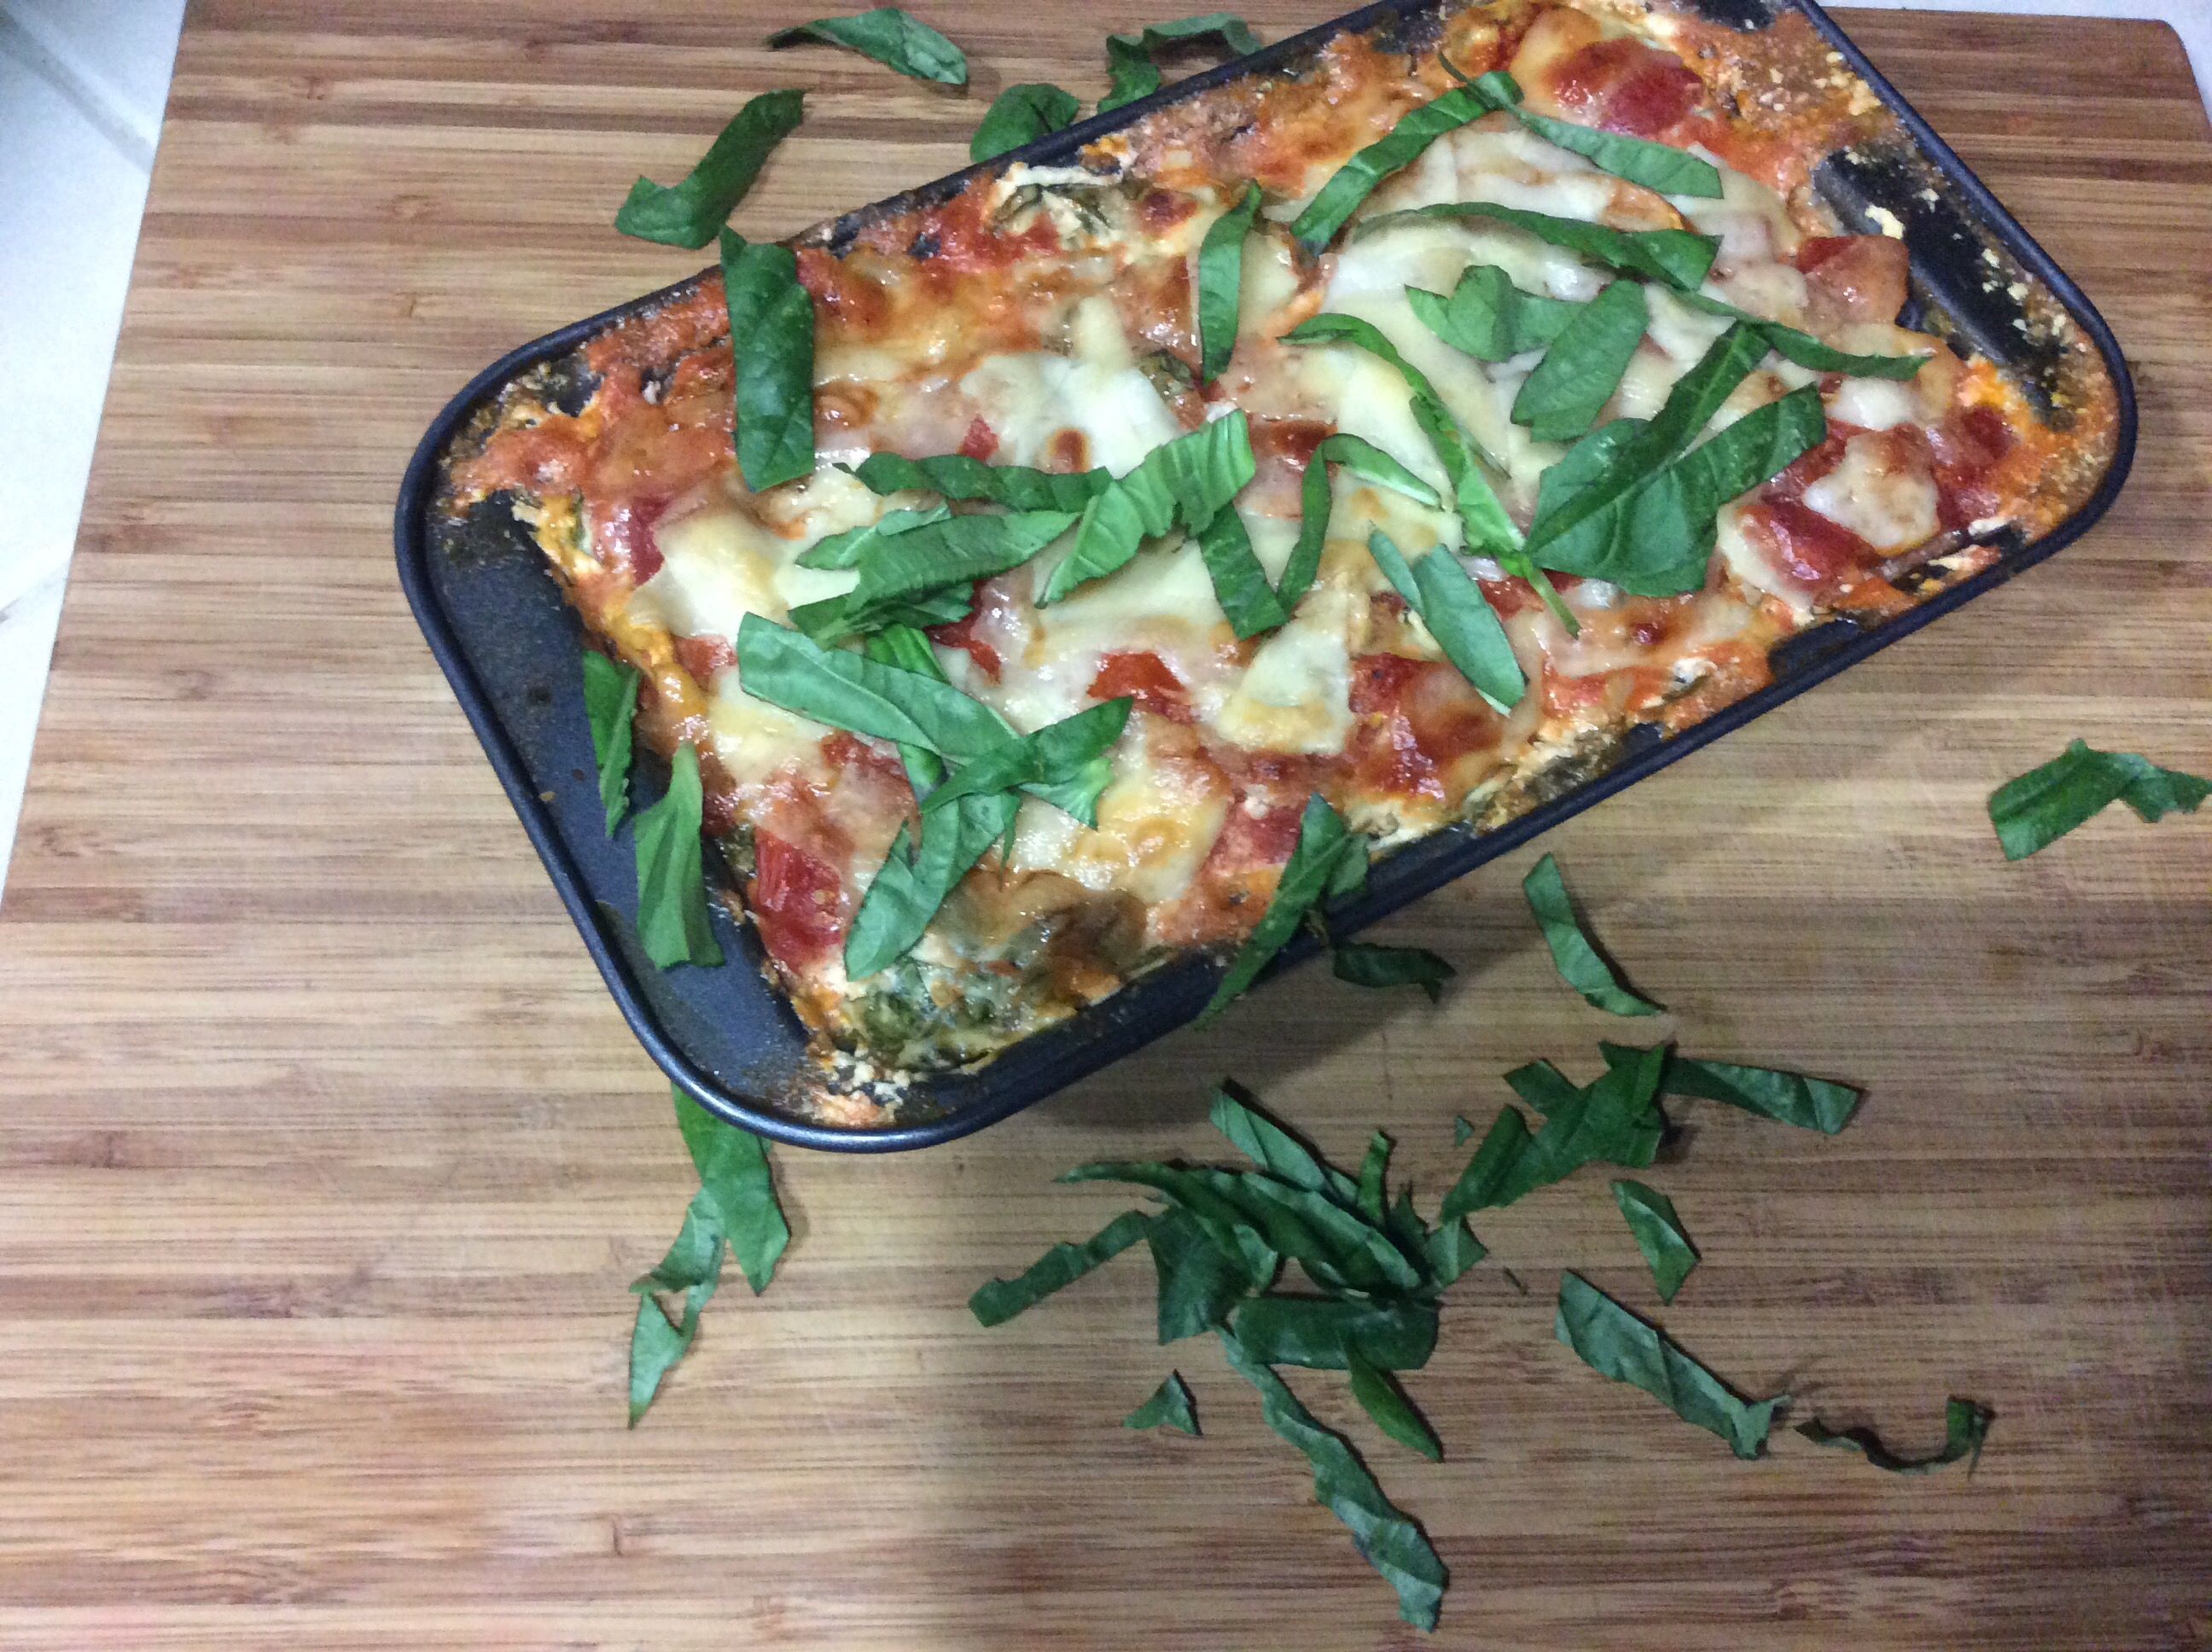
#vegvibes

California Quesadillas

When Mike and I celebrated our anniversary in Coronado earlier this year (you can read more here and here), we had these can insanely delicious California Stone Fired Quesadilla that I’ve been wanting to recreate.

They are lighter than a normal quesadilla because the cheese isn’t in the leading role. The addition of hummus and veggies give this recipe a lot of volume without all of the fat of a fully cheese stuffed quesadilla.

Plus, any dish that takes me back to a vacation-mode is a win in my book!

Note: there aren’t any real measurements for this recipe – just pile on as many ingredients as will fit! Also, get creative and sub things you have on hand 🙂


Cali Quesadillas

Prep time: 10 minutes – Cook time: 15 minutes – Servings: 2

Ingredients:

  • 2 pieces of lavish bread (feel free to make the whole pack and freeze for later!)
  • hummus
  • sliced mushrooms
  • handful of arugula
  • shredded cheese
  • sliced black olives (optional)
  • salsa verde (to dip)

Directions:

  • Spread a thin layer of hummus on lavish bread while a pan is heating up on medium heat
  • Lightly grease pan and place lavish bread on pan, top with ingredients, fold over
  • I find using another pan or pot as some weight works well to melt the cheese quickly without burning the lavish
  • Flip after 3-4 minutes and cook the other side
  • Serve with various dips (and an optional side of chips)


** Note this blog went through a rebrand and is now veg vibes; which aligns better with the direction I organically gravitated towards. It’s all about your vibe.**

Potato Tacos!

Who doesn’t love tacos?

Tacos Tuesdays.

Taco trucks.

The way your head tilts to the side when you’re biting into a taco.

It’s all good stuff.

Equally as good are the vegan potato tacos I whipped up the other night. (Sadly I didn’t take pictures of the cooking process but I *promise* the end result was the main attraction anyway. They were so so so good!)


Potato Tacos

Prep time: 15 minutes – Cook time: 15 minutes – Servings: 4

Ingredients:

  • 1/4 c onion chopped
  • 1 large potato chopped into cube size pieces
  • 1 Tbs coconut oil
  • 1/2 Tbs garlic powder
  • 1/4 Tbs paprika
  • salt and pepper to taste
  • 8 corn tortillas

(to top with)

  • 1/2 large tomato chopped
  • guacamole or avocado
  • salsa verde
  • cilantro (I didn’t have any on hand but wish I did!)

Directions:

  • Sauté onions in coconut oil until translucent
  • Add potatoes and spices, mixing well
  • Reduce heat, cover, and cook for 15 minutes or until potatoes are soft, stirring occasionally
  • Heat tortillas while potatoes are cooking and build yourself a taco bar with your toppings
  • When potatoes are done, add to tortillas and top

**I served our tacos with pinto beans. A great way to spice up canned beans is to simply add a bit of lime juice and cumin – BAM! All of the flavor.


IMG_20170314_184355

** Note this blog went through a rebrand and is now veg vibes; which aligns better with the direction I organically gravitated towards. It’s all about your vibe.**

No Jar Tomato Sauce over Polenta

There was a period in my life when I considered going gluten free… All of that wheat. Inflaming my organs and intestines.

It must go.

This mindset lasted about a half day.

Turns out, I don’t have celiac.

Anyways, during my short stint in (thinking about) eliminating wheat from my diet, I learned about polenta.

Polenta is cornmeal that you boil. Plain and simple.

 After boiling, you can either serve it like porridge or let it solidify. To solidify it, you just boil it according to the package and place in a glass container, cover, and let sit for about 20 minutes. 

Once solidified, you can bake it, fry it, grill it, flop it, bop it.

Or simply make an easy, nom No Jar tomato sauce to pour over it and dig in.

A quick note that you actually can buy polenta in two forms; already solidified or still in grain form. I’ve cooked with both. I prefer the grain form because I get more bang for my buck. However, the solidified version (packaged in a tube-like shape; pictured below) is nice to have on hand for a super speedy dinner.

Although polenta is versatile and cheap, it’s pretty bland. The real show-stopper here has to be the sauce.

Tomato sauce in a jar is a reasonable option if you want to save on time. And there are some great organic versions out there; if that’s your flavor. However, I find that most jarred tomato sauces are either made with soybean oil or have added sugar in them.

My solution? A super simple, 4-5 ingredient sauce (depending if you like mushrooms or not) that you can make while your polenta is solidifying.


No Jar Tomato Sauce 

Prep time: 10 minutes – Cook time: 25 minutes – Servings: 4 *freezes well*

Ingredients:

  • 4 cloves of garlic – minced
  • 1 can fire roasted tomatoes
  • Full bag of a leafy green (it reduces so don’t be shy – put in the whole bag.)
  • 1 c. mushrooms – sliced
  • 2 Tbs olive oil

Directions:

  • Heat your olive oil and sauté garlic until translucent
  • Add mushrooms and continue sautéing for about 1 minute
  • Add leafy greens and can of fire roasted tomatoes
  • Stir until greens are well incorporated
  • Cover and let simmer for ~20 minutes
  • Note: it might look like you don’t have enough liquid at first but by covering the sauce, the trapped steam will thin it out
  • Spoon onto your favorite Italian carbohydrate (polenta, pasta, etc.) and enjoy! 


** Note this blog went through a rebrand and is now veg vibes; which aligns better with the direction I organically gravitated towards. It’s all about your vibe.**

quick and easy veggie fried rice

This recipe is quick because I chopped all of the veg for it earlier in the week. Highly recommend for days you know will be busy.

Pro tip: sesame seed oil is a total game changer. I used to make fried rice without it and it never turned out as good as I wanted it to be.

Sauté your veg in some oil, add rice (again, you can make ahead to save time), and a dash of soy sauce and you have dinner.


Garnish with seaseem seeds and scarf it down. You’ve got things to do. 😉


** Note this blog went through a rebrand and is now veg vibes; which aligns better with the direction I organically gravitated towards. It’s all about your vibe.**

Veggies and Peanut Butter Noodles

Hi y’all!

Two years ago this month I published my first post on the veg voyage. Since I’ve been documenting vacations, travels, book reviews, general thoughts, and a few recipes. This year I want to concentrate on more on recipes, kicking it off with a whole month of weekly dinner posts!

First up is a color packed one: Veggies and Peanut Butter Noodles

One quick note: I made this before without soba noodles and it wasn’t as good – the noodles just stuck together – so I do recommend using soba. Mike picked up some buckwheat soba noodles at Whole Foods and they were perfect.

img_0370

img_0371

img_0374


Peanut Butter Asian Noodles

Prep time: 10 minutes – Cook time: 25 minutes – Servings: 2

Ingredients:

  • Chopped veggies (I used broccoli, peppers, carrots, and snap peas)
  • 1 TBS oil to sauté veggies
  • 1/2 bag of soba noodles
  • 1/4 cup of smooth peanut butter
  • 1 TBS soy sauce
  • Noodle water to thin sauce (possibly)

Directions:

  • Sauté vegetables while soba noodles are cooking (according to package)
  • Use tongs to take transfer cooked noodles from pot to wok or pan that vegetables are in (I never strain my pasta because I like the texture better when a bit of the water is still on the noodles)
  • Mix peanut butter and soy sauce and add to hot vegetables and noodles
  • If need be, think out with more soy sauce (to taste) or noodle water
  • Serve and enjoy!

img_0376


** Note this blog went through a rebrand and is now veg vibes; which aligns better with the direction I organically gravitated towards. It’s all about your vibe.**

Get-Better Broccoli Soup

I worked from home today because of a major toothache that caused a sore throat and ear pain.  I usually eat breakfast and lunch at work so I really didn’t have much food in the house, especially because it is nearing the end of the week!

I honestly wasn’t feeling breakfast at all (so much pain) and stuck to tea after tea all morning. Around noon I was starting to get hungry though. I had canned soup that I could have easily heated up but I’ve been reading about how bad BPA is for us, especially for women and our fertility (call me crazy or paranoid except not really because it’s fact) so I decided to get creative in the kitchen instead of busting out the can opener.

I whipped up a broccoli soup that was so yummy, I’ll be making a bigger batch to freeze in the near future. I used ingredients I happened to have on hand and this recipe as my muse.

The cumin and lime give this soup such a nice flavor with just the right amount of kick. Plus, all of the vitamins and antioxidants in the broccoli really did have me feeling better; not to mention the garlic, carrots, and nutrient power-house lentils that were also in there.

I now present you with my Get-Better Broccoli Soup (which is both vegan and gluten free #hey)

img_0301
The random ingredients I had to work with… (frozen homemade veggie broth FTW)
img_0302
Sauteed garlic and carrots
img_0303
Added lentils and veg broth
img_0304
Add cumin, lime juice, and frozen broccoli; boil, simmer, blend!
img_0306
Ta-da 

Get Better Broccoli Soup

Prep time: 10 minutes – Cook time: 20 minutes – Serves 4 *freezes well*

Ingredients

  • Olive oil
  • 4 cloves garlic – chopped
  • 1 c carrot – chopped
  • 1/2 c red lentils
  • 4 c veg broth
  • 1 c broccoli
  • 1 Tbs cumin
  • 1 Tbs lime juice

Directions

  • Sauté garlic until translucent
  • Add carrot and continue heating for ~1 minute
  • Add lentils, veg broth, and broccoli
  • Bring to a boil
  • Stir in cumin and lime juice
  • Reduce heat and simmer for 15 minutes
  • Blend together (I used an immersion blender but a regular blender would work too)
  • Serve, sip, and get better!

** Note this blog went through a rebrand and is now veg vibes; which aligns better with the direction I organically gravitated towards. It’s all about your vibe.**

The light in me sees the light in …honey and coconut granola!

“It’s supposed to throw you off balance. It’s yoga,” the instructor told the class as I clumsy struggled to stay in half moon. While trying to focus my attention on an imperfection in the hardwood – a classic yogi trick to help with balance, picking one spot and starring at it –  I  couldn’t help but relate the instructor’s words about yoga to life.

It’s supposed to throw you off balance…

Thinking about it more as we transitioned into warrior III, I knew I would be saving that mantra in my back pocket for some time. Now, when things feel a little shaky, I try to remind myself that a some instability is okay and normal.  It helps us stretch and wiggle in new ways, and it also helps us get stronger.

………Just like a hardy bowl of homemade granola! amiright!?

I hate how most store-bought granolas are packed with sugar so I thought I would give it a go and make my own!  (I used this video from WhatsUpMoms☀️ as a guide)


Namaste Granola 

Prep time: 15 minutes – Cook time: 30 minutes – Serves: 4

Dry ingredients

  • 2 cups oats
  • 1/4 cup sunflower seeds
  • 1/4 flax seeds
  • 1/4 cup sliced almonds
  • 1/4 shredded coconut
  • dash of cinnamon and cardamon

Wet ingredients

  • 2 heaping tablespoons coconut oil
  • 1 tablespoon honey
  • dash of vanilla

Directions

  • Bring your wet ingredients to a boil
  • Add to the dry ingredients, mixing together
  • Bake at 300 degrees for 30 minutes
  • Let cool and then be super trendy and put into mason jar 😉


Stay tuned and eat your greens!


** Note this blog went through a rebrand and is now veg vibes; which aligns better with the direction I organically gravitated towards. It’s all about your vibe**

Californians and their avocados…

It’s been gloomy in California lately and I decided to spend the afternoon at home “pampering” myself the other day. I think it’s important to realize you don’t have to spend a whole bunch of money to feel better about yourself. No matter how great I feel with fresh highlights and a new outfit, it would be a pricey habit to rely on spending all of that money to brighten my day.

Sometimes just spending a hour or so on yourself is good enough! I was feeling like a hot mess – with un-brushed hair and chipped nail polish – when I decided to go for a run/walk but right when I laced up my shoes, it started raining. I could have done another workout instead but I decided just to go for it. Oddly, running in the rain makes it more pleasant for me.

  • After my workout, I had one of my favorite protein packed snacks – snap peas dipped in hummus with hot sauce and a string cheese.
  • Then I took off that chipped nail polish! Typically doing our nails is thought of pampering but because of all the chemicals in nail polish, I feel better when my nails are bare. Scrubbing off my O.P.I. and cutting/filing my nails makes me feel best.
  • Next I took a hot shower and SHAVED even though it’s raining here and I won’t be wearing shorts anytime soon. Nothing gets you feeling like you brought your A game like smooth legs.
  • After I showered, I slathered myself with avocado oil – how California of me, I know.
  • I got dressed and, for once, avoided yoga pants or leggings, opting for jeans. (Full disclaimer: this was more for Mike than me;)
  • Next I dyed my  eyebrows. Some people feel best when they’re having a good hair day, for others it’s all about their outfit, but for me? when my eyebrows are a tad darker than their natural state that I feel my best.
  • While my eyebrow dye sat and dyed, I brushed my hair (it is all too often that my hair defaults in a messy bun on top of my head) and fish tail braided it to get it out of my face. Braiding my hair is one of my favorite things to do – it’s so simple and really gives you bang for your buck because after you take it out, you’re left with pretty waves. Two hairstyles out of one? Sold.
IMG_20160321_170803
Hair braided. Eyebrows dyed. …Chillin’ with no makeup on

After I felt like a human again, I hit the kitchen to try out a new recipe. I originally saw this recipe on the YouTube channel What’s Up Moms (which I am obsessed with, even though I’m not a mom yet). There are a few alterations but it was delicious!


Creamy Avocado Pasta

Prep time: 15 minutes – Cook time: 15 minutes – Serves: 2

Ingredients

  • 1.5 c of your favorite pasta (I used brown rice and quinoa)
  • 1 bag baby kale
  • 1/2 avocado
  • 1 Tbs olive oil
  • 4 garlic cloves
  • 1/4 c basil
  • 1/2 c cherry tomatoes

Directions 

  • Cook pasta according to package
  • While pasta is cooking, add kale, pealed avocado, olive oil, garlic and basil into blender and blend until smooth
  • Strain pasta but keep some of the water to thin out sauce (if need be)
  • Pour sauce (thinned out with pasta water, if needed) over hot pasta
  • Add sliced cherry tomatoes and mix together
  • Serve and enjoy!

IMG_20160321_182733
So green!
IMG_20160321_183345
So creamy!
IMG_20160321_183916
So good!

Stay tuned and eat your greens.


** Note this blog went through a rebrand and is now veg vibes; which aligns better with the direction I organically gravitated towards. It’s all about your vibe **

Veg Lunches

I am a huge advocate for bringing your lunch to the office. It will generally be healthier, save you money, and you can use the time spent driving around town to get food to take a walk around the parking lot instead! (Which legitimately is what I do on days that I’m in the office.)

Mike used to eat out every day (talk about a pricey habit!) but decided to bring a lunch from home 2 days a week instead; which has saved him money and has likely given him better health.

**Note when Mike started bringing lunches to work, he would make them himself but I quickly took over having a self-proclaimed OCD state of needing to know exactly what and how much food we have in our house at any given moment. (Seriously, it’s a bit weird how well I know the contents of our cabinets and refrigerator.)***

Most weeks I make Mike some variation of a hummus sandwich. When we did our No Sugar Cleanse, we learned that sourdough is the best bread to eat (if you’re trying to avoid sugar). I start off with four slices of Trader Joe’s sourdough bread and spread hummus on all pieces. Then I top with whatever veggies we have on hand – which usually includes cucumbers, carrots, and tomato. Sometimes, on a “good week” (we joke), I use sprouts too.  I will also pack a piece of fruit, maybe some chips, and Mike has lunch!

Occasionally I will pack him leftovers or just make one sammy and pair it with soup but basically hummus sandwiches are all the guy gets. (Side note, I should be mixing up his lunches with homemade burritos now, since I have so many frozen.)

This week I decided to spice up Mike’s lunches with a whole.new.menu. Can you even handle it? Instead of relying on my go-to hummus sandwich, I got a tad more creative and made him vegetable farro. (Farro is basically quinoa’s cousin – but is made from wheat – so far less trendy.)

Aside from being a believer in bringing your own lunches to work, I am also a big fan of frozen vegetables. I usually have peas and corn on hand and vary between broccoli, green beans, and a few other good ones! (Who am I kidding?! They are all good;)

This week we have frozen peas, (corn – not included in this recipe) and broccoli. I also had fresh carrots and onions. While my farro was boiling in the broth, I sauteed my veggies…

img_0145

…Then added the cooked farro right on top…

img_0146

…Mixed it all together and stored in glass containers for Mike’s lunch this week.

img_0147

This veg packed meal – paired with more vegetables red peppers and cucumbers to dip in hummus (can’t get away from the stuff!) – is a healthy, cheap lunch for Mike that should leave him full and satisfied.

Stay tuned and eat your greens.


** Note this blog went through a rebrand and is now veg vibes; which aligns better with the direction I organically gravitated towards. It’s all about your vibe **